I’ve been working in the injection molding industry for over a decade, and TPE (thermoplastic elastomer) has always been one of my favorite materials to work with—its soft, rubbery feel and versatility make it perfect for everything from phone cases to medical grips. But, like any material, it comes with its quirks. One of the most frustrating issues I’ve tackled is wavy patterns on TPE injection-molded surfaces. These rippling, wave-like defects can make a part look cheap or defective, and I’ve had clients reject entire batches because of them. I still remember a late-night troubleshooting session for a TPE sealing strip project where wavy patterns nearly derailed our delivery schedule. Through that ordeal and many others, I’ve learned how to pinpoint the causes of these defects and fix them. In this article, I’ll share my hard-earned insights on why wavy patterns appear on TPE surfaces, how to eliminate them, and how to keep them from coming back. Whether you’re a seasoned molder or just starting out, this guide will help you get those TPE surfaces smooth and professional.

What Are Wavy Patterns on TPE Surfaces?
Wavy patterns, sometimes called ripples or flow marks, are uneven, wave-like defects on the surface of TPE injection-molded parts. They often resemble ripples in water or subtle undulations, and they’re particularly noticeable on glossy or smooth finishes. These defects can compromise the aesthetic quality of products, leading to customer dissatisfaction or even functional issues in precision applications like seals or gaskets.
When I first encountered wavy patterns, I thought they were just a cosmetic issue caused by sloppy molding. But digging deeper, I realized they’re often a symptom of deeper problems in material, mold design, processing, or equipment. Understanding these root causes is the key to solving the issue, so let’s break them down.
Why Do Wavy Patterns Appear on TPE Surfaces?
Wavy patterns in TPE injection molding can result from a variety of factors, often working together to create those frustrating ripples. Drawing from my experience and industry standards like those from ASM International’s polymer processing guidelines, here are the main culprits:
Uneven Melt Flow: Inconsistent flow of the TPE melt in the mold cavity can cause ripples, especially if the material cools unevenly.
Improper Injection Speed: Too fast or too slow injection speeds can disrupt the melt front, leading to wavy patterns.
Inadequate Mold Temperature: Low mold temperatures can cause the TPE to cool too quickly, creating flow marks or ripples.
Poor Mold Venting: Trapped air or gases in the mold can interfere with melt flow, resulting in surface defects.
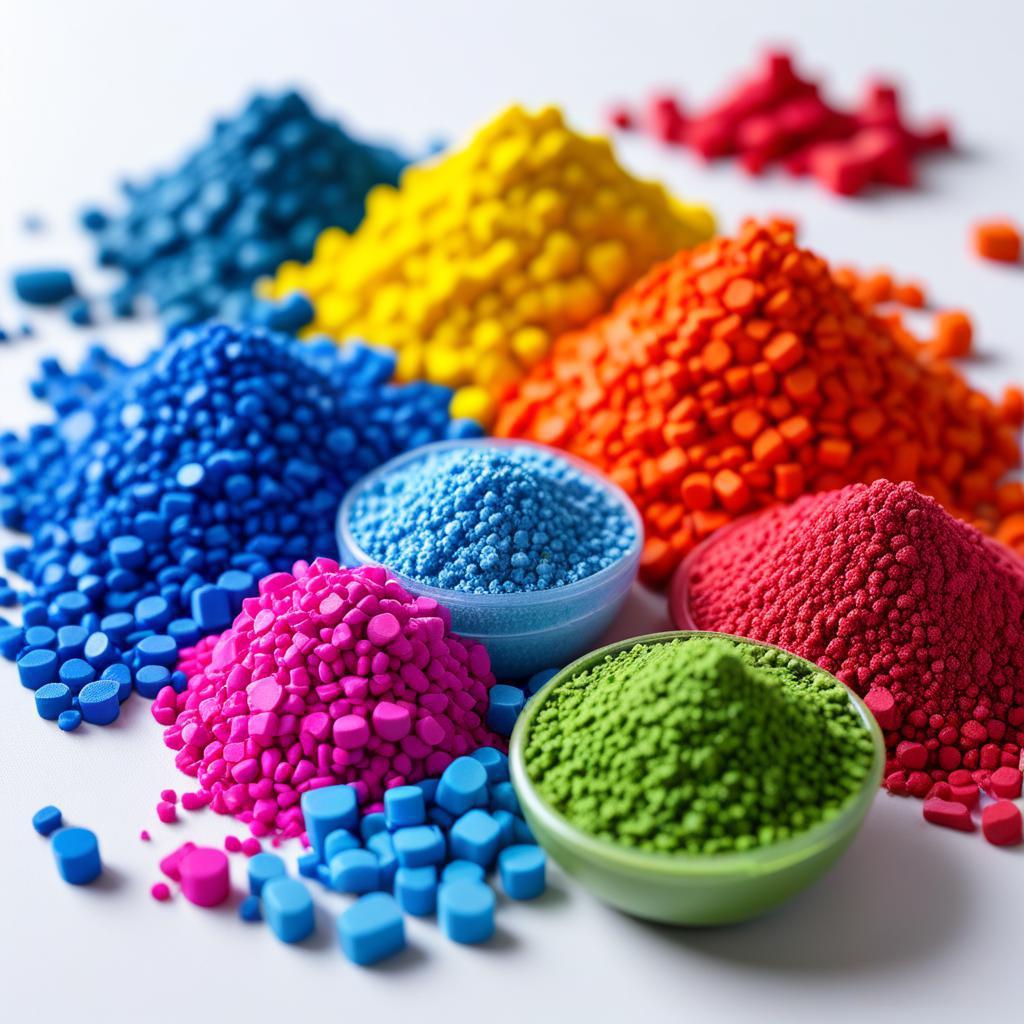
Material Issues: Moisture, inconsistent viscosity, or improper drying of TPE pellets can lead to uneven flow and wavy patterns.
Mold Surface Quality: Rough or worn mold surfaces can disrupt the melt’s contact with the mold, causing ripples.
Gate Design Problems: Small or poorly positioned gates can create turbulent flow, contributing to wavy patterns.
In the sealing strip project, the wavy patterns were caused by a combination of low mold temperature and poor venting. It took some late-night experiments to figure it out, but the solutions were worth it. Let’s dive into how to address each cause with practical, real-world fixes.

How to Fix Wavy Patterns on TPE Surfaces?
Eliminating wavy patterns requires a methodical approach, addressing material preparation, mold design, processing parameters, and equipment maintenance. Below, I’ll share solutions that have worked for me, along with tips to prevent these defects from recurring. These methods align with standards like ISO 17855 for plastics processing.
1. Optimize Material Preparation
TPE’s sensitivity to moisture and viscosity variations can lead to wavy patterns if not handled properly. I learned this the hard way when a batch of TPE pellets wasn’t dried thoroughly, causing ripples that looked like waves on a lake.
Solutions:
Dry TPE Thoroughly: Use a dehumidifying dryer to dry TPE pellets at 80-100°C for 2-4 hours, ensuring moisture content is below 0.1%. Moisture can vaporize during molding, disrupting flow and causing ripples.
Check Material Consistency: Ensure the TPE batch has uniform viscosity by using pellets from the same lot. If mixing lots, blend thoroughly to avoid flow variations.
Use High-Quality TPE: Select TPE grades with consistent melt flow index (MFI), typically 10-30 g/10 min at 190°C, for smooth molding. Consult supplier data sheets, like those from DuPont’s TPE resources.
Store Properly: Keep TPE pellets in sealed, moisture-proof bags in a dry environment (relative humidity below 50%) to prevent moisture absorption.
Prevention Tip: Invest in a moisture analyzer to check pellet dryness before molding, and establish strict material handling protocols to avoid contamination or moisture issues. This ties back to our earlier discussion about preventing TPE material issues like moisture absorption, which can also cause surface defects.

2. Adjust Injection Molding Parameters
Processing parameters are often the biggest contributors to wavy patterns. In the sealing strip project, tweaking injection speed and mold temperature was key to smoothing out the surface.
Solutions:
Optimize Injection Speed: Use a multi-stage injection profile to control the melt front. Start with a low speed (20-30% of maximum) to fill the cavity gently, then increase to 50-70% to complete filling. This reduces turbulence and flow marks.
Increase Mold Temperature: Raise mold temperature to 40-60°C to slow cooling and promote uniform melt flow, minimizing ripples.
Adjust Barrel Temperature: Set barrel temperatures to 180-220°C, starting at the lower end to avoid overheating, which can cause material degradation and surface defects.
Fine-Tune Holding Pressure: Apply a holding pressure of 50-70% of injection pressure for 1-3 seconds to ensure even packing and reduce flow marks.
Extend Cooling Time: Allow 15-30 seconds of cooling to stabilize the part before ejection, preventing premature demolding that can cause surface irregularities.
Prevention Tip: Run small-scale trials to find the sweet spot for parameters, and document settings for each TPE grade to ensure consistency. This approach builds on our previous conversations about optimizing TPE molding processes to avoid defects like gas marks or mottling.
3. Improve Mold Design and Maintenance
The mold’s design and condition play a huge role in surface quality. I’ve seen wavy patterns caused by poor venting or worn mold surfaces, both of which are fixable with some attention to detail.
Solutions:
Enhance Venting: Add vent channels (0.01-0.03mm deep) around the cavity and near the gate to allow air and gases to escape, preventing flow disruptions.
Polish Mold Surfaces: Ensure the mold cavity is polished to an SPI A2 or A3 finish for smooth parts, or textured for matte finishes, to promote even melt contact.
Optimize Gate Design: Use a fan gate or sub-gate to ensure uniform melt distribution, reducing turbulence that causes wavy patterns. Small gates can create high shear, leading to defects.
Maintain Molds: Clean molds after every 5,000-10,000 cycles to remove residues, and inspect for wear or damage that could affect surface quality.
Prevention Tip: Simulate molding with software like Moldflow to identify venting or gate issues before production, and schedule regular mold maintenance to keep surfaces pristine. This echoes our earlier talks about mold design for TPE products like folding bait basins.

4. Address Equipment Issues
Equipment problems, like inconsistent pressure or worn screws, can contribute to wavy patterns. I once traced ripples to a faulty check valve in the injection unit, which was a quick fix once identified.
Solutions:
Calibrate the Machine: Ensure pressure and temperature sensors are accurate to maintain consistent molding conditions.
Inspect Screw and Barrel: Check for wear or contamination in the screw and barrel, and clean thoroughly when switching TPE grades.
Purge the System: Use a purging compound to remove residual material or contaminants that could disrupt melt flow.
Check Clamping Force: Ensure the clamping force is sufficient to keep the mold closed tightly, preventing flash or flow marks.
Prevention Tip: Implement a preventative maintenance schedule for the injection molding machine, checking critical components like screws, barrels, and valves regularly.
5. Control Environmental Factors
Environmental conditions, like humidity or temperature in the molding facility, can affect TPE’s behavior. I’ve seen wavy patterns worsen in humid conditions due to moisture absorption, a problem we discussed in our earlier conversation about TPE roll material getting wet.
Solutions:
Maintain Low Humidity: Keep the molding area’s relative humidity below 50% using dehumidifiers to prevent moisture absorption during processing.
Control Facility Temperature: Maintain a stable temperature (15-25°C) in the molding shop to ensure consistent material behavior.
Monitor Material Storage: Store TPE pellets in a climate-controlled environment to avoid degradation or moisture uptake before molding.
Prevention Tip: Install hygrometers and temperature loggers in the facility to track conditions, ensuring TPE remains in optimal condition from storage to molding.
6. Test and Iterate
If wavy patterns persist, testing and iteration are crucial. I always advocate for small-scale trials to isolate variables, a lesson reinforced during a TPE grip project where multiple factors were at play.
Solutions:
Run Test Molds: Mold small batches with adjusted parameters (e.g., slower injection speed, higher mold temperature) to identify the most effective fix.
Analyze Parts: Inspect defective parts under magnification to distinguish wavy patterns from other defects like flow marks or gas marks.
Collaborate with Suppliers: Work with TPE and colorant suppliers to troubleshoot persistent issues, as they can recommend specific grades or additives to improve flow.
Document Findings: Keep a log of test results, parameters, and outcomes to build a knowledge base for future runs.
Prevention Tip: Use a structured problem-solving approach, like the Plan-Do-Check-Act (PDCA) cycle, to systematically eliminate wavy patterns and refine the process.
Comparison Table of Wavy Pattern Causes and Solutions
To help you tackle wavy patterns efficiently, I’ve created a table summarizing the causes, solutions, and prevention strategies based on my experience.
Cause | Why It Happens | Solutions | Prevention Strategies |
|---|---|---|---|
Uneven Melt Flow | Inconsistent flow or cooling in the mold | Optimize injection speed (20-40%), increase mold temperature (40-60°C) | Run Moldflow simulations, test parameters |
Improper Injection Speed | Too fast or slow speeds disrupt melt front | Use multi-stage injection (20%, 50%, 80%), reduce speed to 20-40% | Document optimal speeds for each TPE grade |
Inadequate Mold Temperature | Low temperatures cause rapid cooling | Raise mold temperature to 40-60°C, ensure uniform heating | Use conformal cooling, monitor mold temperature |
Poor Mold Venting | Trapped air/gases disrupt melt flow | Add 0.01-0.03mm vent channels, clean vents regularly | Design molds with adequate venting, inspect often |
Material Issues | Moisture or inconsistent viscosity | Dry TPE at 80-100°C for 2-4 hours, use consistent batches | Store in low-humidity conditions, use moisture analyzer |
Mold Surface Quality | Rough or worn surfaces affect melt contact | Polish to SPI A2/A3, clean after 5,000-10,000 cycles | Schedule mold maintenance, use high-quality steel |
Gate Design Problems | Small or poorly placed gates cause turbulence | Use fan or sub-gates, enlarge gate size | Simulate gate flow, optimize design early |
My Real-World Experience
Let me share a story from that TPE sealing strip project that kept me up at night. We were producing strips for an automotive client, and the parts needed a smooth, matte finish. During the first run, wavy patterns appeared on nearly 30% of the parts, looking like ripples on a pond. The client was unimpressed, and we were on a tight deadline. After some intense troubleshooting, we identified two main issues:
Low Mold Temperature: The mold was set at 25°C, causing the TPE to cool too quickly and form ripples. We raised it to 50°C, which smoothed out the flow.
Poor Venting: The mold lacked sufficient venting, trapping air near the gate. We added 0.02mm vent channels, and the wavy patterns disappeared.
These fixes got the project back on track, and the client signed off on the batch. The experience taught me to always check mold conditions and process parameters first when surface defects appear, a lesson I’ve applied to countless projects since. It also connects to our earlier discussions about TPE molding defects like gas marks and mottling, where venting and temperature control were recurring themes.
Frequently Asked Questions
To wrap up, I’ve answered some common questions about wavy patterns in TPE molding, based on issues I’ve encountered or heard from colleagues.
Q1: How do wavy patterns differ from flow marks or gas marks?
A: Wavy patterns are rippling, wave-like defects caused by uneven melt flow or cooling, often spread across the surface. Flow marks are linear streaks tied to shear or gate issues, while gas marks appear as hazy or silvery patches due to trapped gases. Inspect parts under magnification to differentiate.
Q2: Can wavy patterns affect TPE part performance?
A: Wavy patterns are usually cosmetic, but if caused by moisture or material degradation, they could indicate reduced strength or elasticity. Test mechanical properties to confirm.
Q3: Are some TPE grades more prone to wavy patterns?
A: Yes, low-viscosity TPEs or those with high filler content can be harder to mold smoothly, increasing the risk of wavy patterns. SEBS-based TPEs with balanced MFI are often easier to work with.
Q4: What if wavy patterns persist after adjusting parameters?
A: If tweaks don’t work, check mold venting, gate design, and material quality. Run Moldflow simulations or consult suppliers for tailored TPE grades or additives to improve flow.
Q5: Can post-processing hide wavy patterns?
A: Texturing or coating can mask minor wavy patterns, but it’s costly and may not last. Fixing the molding process is more reliable and cost-effective.
Final Thoughts
Wavy patterns on TPE injection-molded surfaces can be a real buzzkill, but they’re not unbeatable. By fine-tuning material preparation, molding parameters, mold design, and equipment maintenance, you can achieve smooth, ripple-free parts that meet even the pickiest client’s standards. My years in the industry have taught me that defects like these are just puzzles waiting to be solved—with the right tools and a bit of persistence, you’ll crack the code.
If you’re wrestling with wavy patterns or have a TPE molding challenge, I hope this guide gives you a clear path forward. Got questions or a tricky case? Drop me a line—I’m always up for geeking out over injection molding. Here’s to creating TPE parts that are as smooth as glass and tough as nails!